This simple How To, talks you through step by step to how to set up your SoGo Calendar in Thunderbird. This is how to set up SoGo Calendar in Thunderbird.
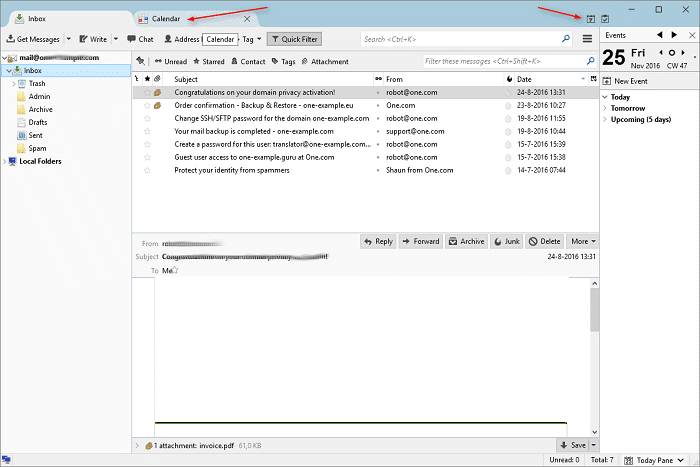
(1) Open Thunderbird
Open Thunderbird and click the Calendar tab at the top of the screen, or click the calendar icon to the right.
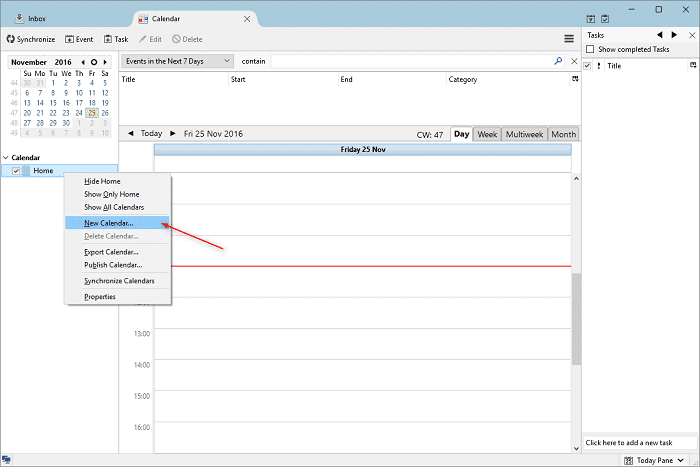
(2) Create a new Calendar
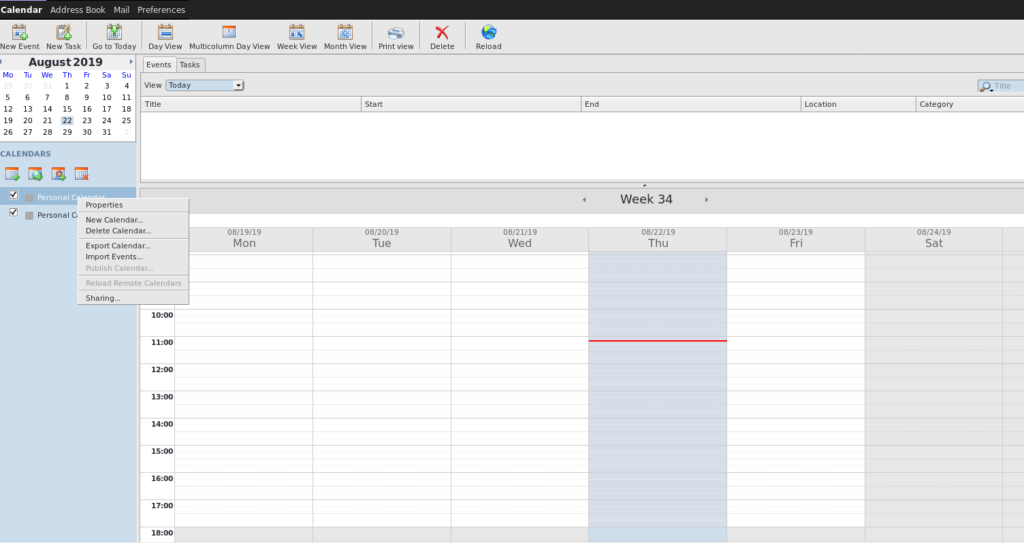
Right click on an existing calendar and select New Calendar… in the menu that appears.
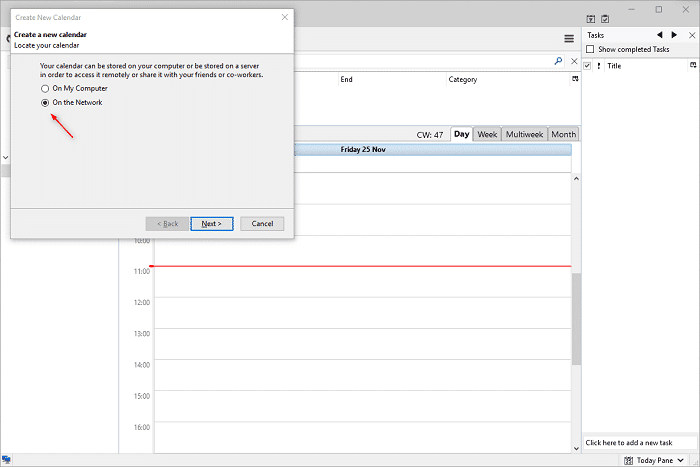
(3) Select where your calendar is stored
Select On the network and click Next.
(4) Open Webmail
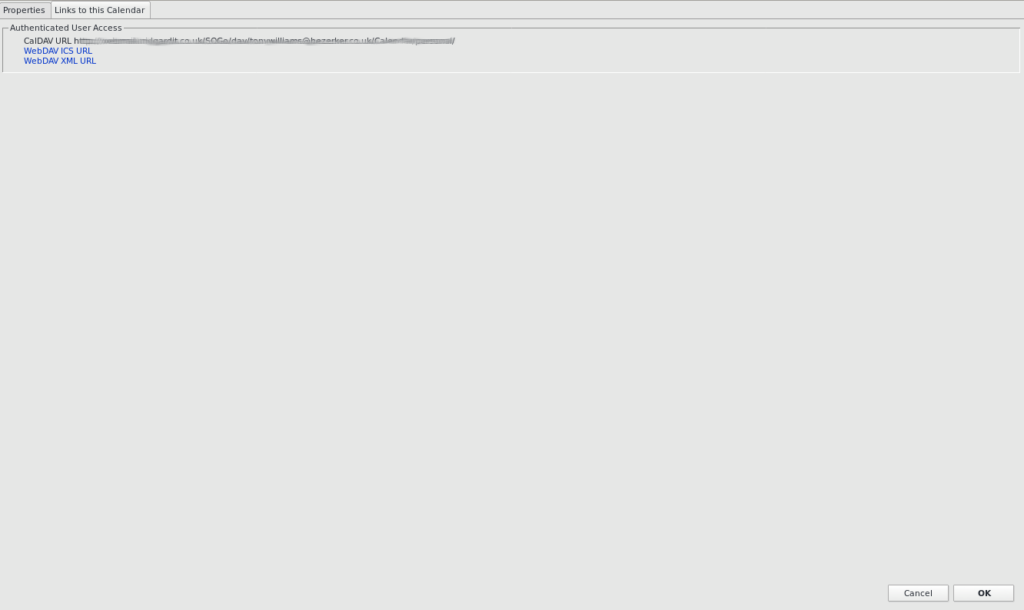
Log in to Webmail and click on calendar, right click on the calendar you want to set up and select properties. Another tab will open, select Links to this Calendar
(5) Copy the CalDAV url
Copy the unique CalDAV url for your calendar and go back to Thunderbird.
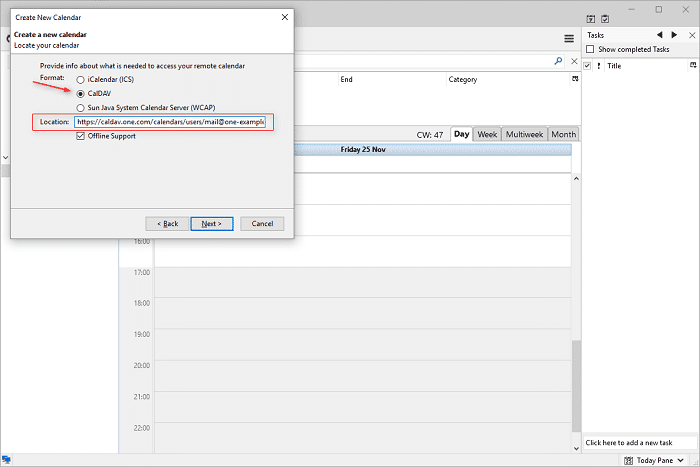
(6) Configure new calendar
Select CalDAV under format and paste in the CalDAV url for Location. Click Next to continue.
(7) Select name and colour
Enter a name for your calendar and select a colour and click Next.

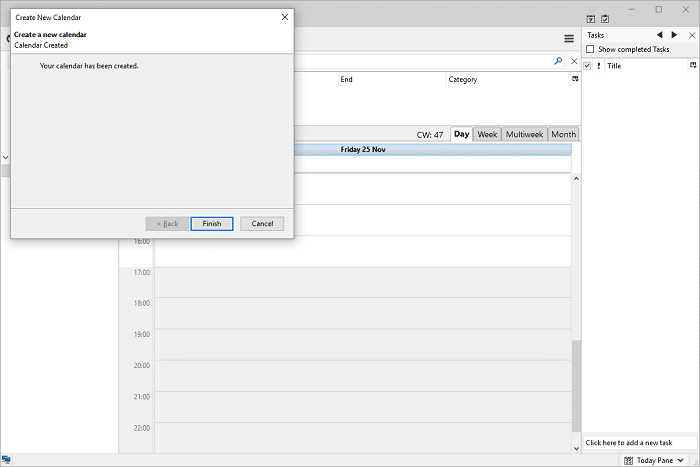
(8) Finish setup
Your calendar has now been created, click Finish to close.
Note: Sometimes you need to confirm your login details. Enter your email address and password when asked.
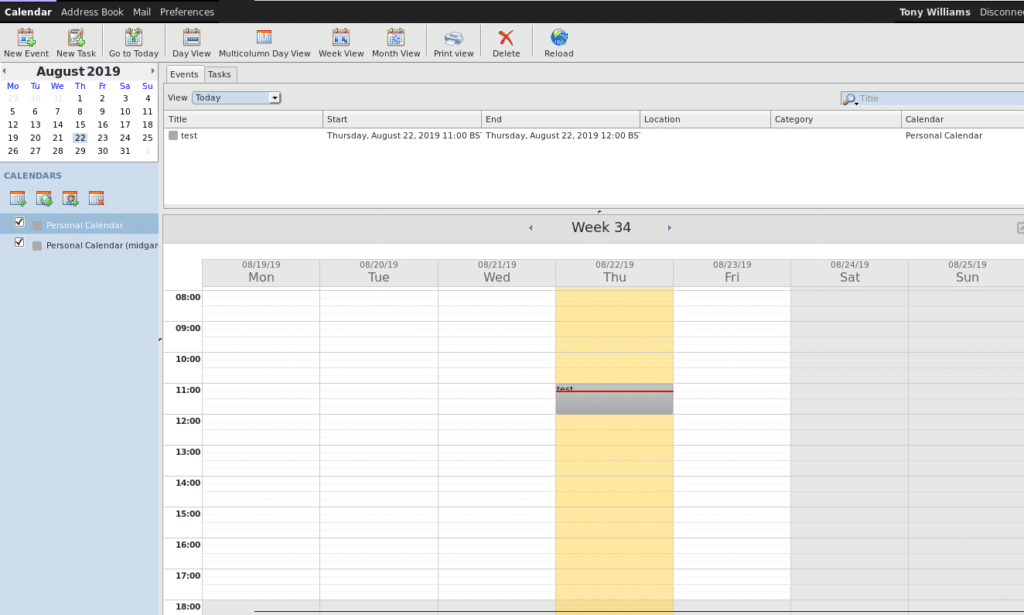
(9) Create an event in Webmail
To make sure everything is set up correctly, create an event in Webmail, in the calendar you have just set up.
(10) Synchronize in Thunderbird
Go back to Thunderbird and click Synchronize in the top left corner.
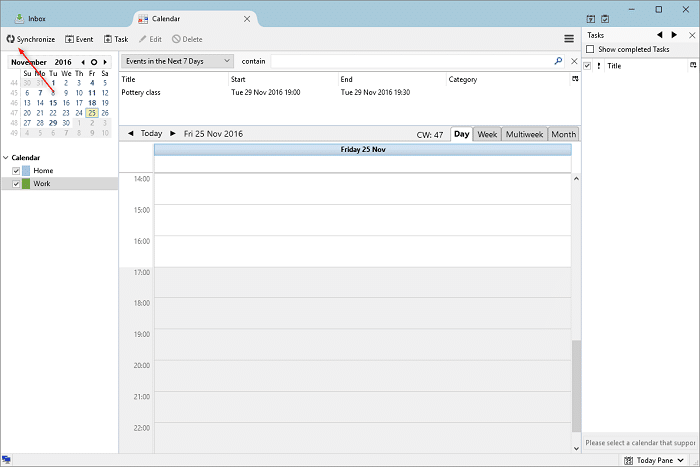
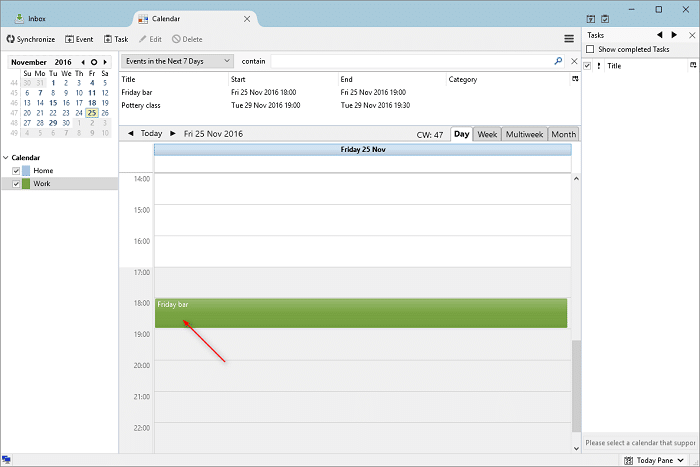
(11) All done!
The event you just created in Webmail should now appear in your calendar in Thunderbird. If the calendar doesn’t sync properly, please check your settings and try again.