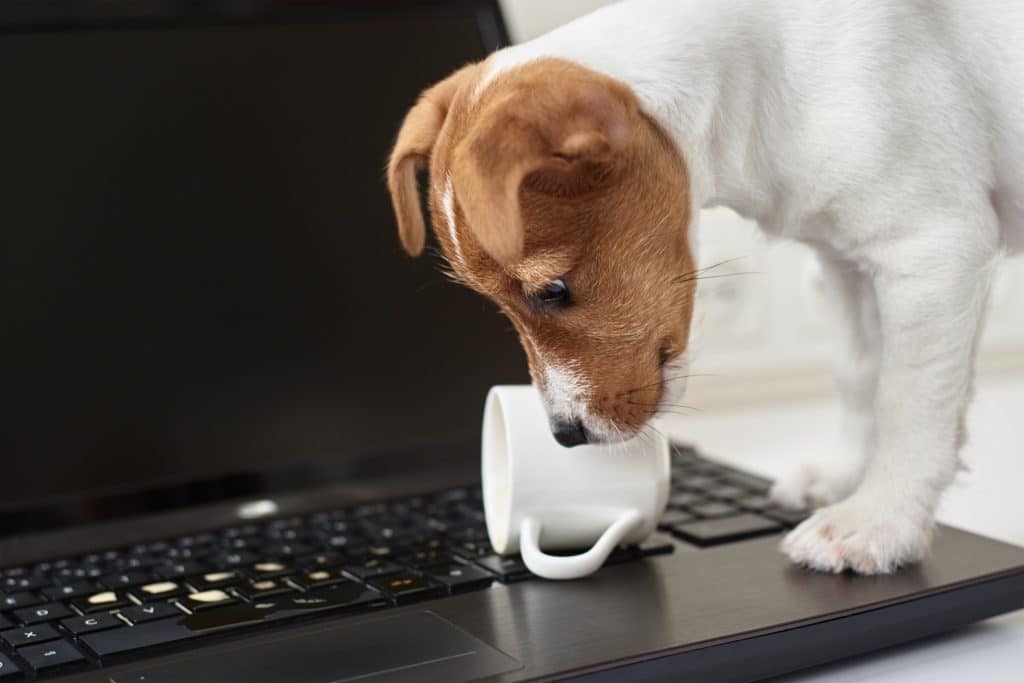
Your keyboard: home to your best ideas, worst typos, and at least three crumbs from last Tuesday’s lunch.
Let’s be honest, when’s the last time you properly cleaned it? Not just a quick shake, but a real, respectful, “I care about you” clean.
This guide shows you how to clean your keyboard without:
- Breaking it
- Electrocuting yourself
- Uncovering evidence of snacks you forgot you ate
Why Cleaning Your Keyboard Is a Health (and Sanity) Essential
- Keyboards can hold more bacteria than a toilet seat
- Dust and gunk can affect key performance
- Dirty keyboards cause distractions, sticky keys, and strange smells
- Clean kit = happy team = less downtime
Common Mistakes That Break More Keyboards Than They Clean
- Spraying cleaner directly onto the keyboard
- Using soapy water (!!)
- Removing keys with knives or keys
- Turning it upside down and shaking like a tambourine
Don’t be that person. Your keyboard deserves better.

What You’ll Need Before You Start
- A can of compressed air (keyboard’s best friend)
- Isopropyl alcohol (70% or higher)
- Cotton swabs or a soft cloth
- A small brush or a clean, dry paintbrush
- A keycap puller (optional, for mechanicals)
- Microfibre cloth
- Optional: rubber gloves if you’re easily grossed out
Step-by-Step: The Safe Way to Clean Your Keyboard
Step 1: Turn everything off
Unplug your keyboard or shut down your laptop. Safety first.
Step 2: Flip it and tap gently
Turn it upside down and give it a gentle tap to loosen loose debris.
Step 3: Use compressed air
Spray between the keys to remove crumbs, hair, and mystery fluff.
Step 4: Wipe the surface
Use a soft cloth lightly dampened with isopropyl alcohol. Not dripping; lightly dampened.
Step 5: Detail clean
Use a cotton swab dipped in alcohol to clean around key edges.
Step 6 (optional): Remove keycaps
If you’re brave or using a mechanical keyboard, pull keys gently and clean underneath.
Step 7: Let it dry
Make sure everything is completely dry before turning it back on.
What NOT to Do (Unless You Like Buying New Keyboards)
- Don’t submerge it in water
- Don’t use Windex or kitchen cleaner
- Don’t use a vacuum (static = bad)
- Don’t yank keys with brute force
- Don’t assume “it’s just dust”, liquids from coffee count too
Bonus: Cleaning for Mechanical Keyboards
If you’ve gone fancy with a mechanical keyboard:
- Use a keycap puller to remove caps
- Clean each cap individually with a cloth
- Compressed air and a brush are your best friends
- Don’t mess with the switches unless you know what you’re doing
Remote Staff? Here’s How to Get Them Cleaning Too
- Share this guide via Slack or internal newsletter
- Include a cleaning kit in new starter packs
- Offer a prize for “cleanest desk setup”
- Remind them: their laptop fan isn’t a hoover
How We Help Businesses Stay Hygienic and Operational
We:
- Provide equipment maintenance plans
- Help set policies for clean and safe IT hardware
- Supply cleaning kits and bulk compressed air (yes, really)
- Run remote hardware health checks for WFH teams
Final Thoughts
Cleaning your keyboard isn’t just about hygiene; it’s about respect.
Respect for your gear. Respect for your workspace. Respect for whoever uses it after you.
Also, nobody wants to touch the ‘G’ key if it’s sticky.
FAQs
Q: Can I clean my laptop keyboard the same way?
A: Mostly, yes. Just be gentler, laptops are more fragile.
Q: Can I use baby wipes?
A: Only if they’re alcohol-free and not too wet. Still: microfibre + alcohol is better.
Q: How often should I clean it?
A: Monthly is great. Weekly if you snack or share it.
Q: Is it worth buying a cover?
A: For shared devices or dusty places? Absolutely.
Q: What if I pulled a key off and now it won’t go back on?
A: Stop. Call us. We’ll help. Force is not the answer.

